Our vinegar making started over a year ago with one of my chefs researching how to go about it with some diced apples (my parents have several apple trees in their garden so we had to come up with some ideas!).
The small jar of apple, sugar water did after some lock downs and what not turned into our very own vinegar!
My mind was blown and I was hooked. The process was so simple if not quite time consuming but very satisfying. After a while our little pot of vinegar had a scoby which I also knew nothing about!
A scoby is a sign that your vinegar is alive and well and it means when you make another batch you can drop in the scoby from the last batch into the new one and add the correct bacteria and this in turn speeds up the process greatly.
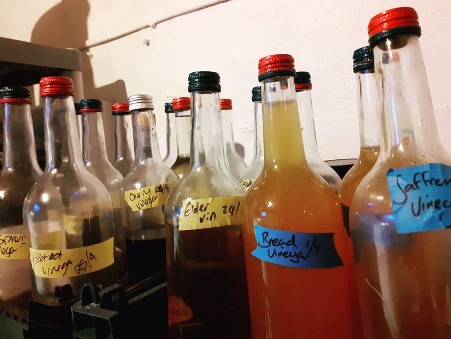
After we became quite good at apple vinegar we tried some fruits like raspberry and strawberries and again we made (much quicker this time) our own fruit vinegars!
Naturally my brain went on ask if vegetable vinegars could be made?! We found that they can….
This series of learning and discovery then led us to using more obscure bits and bobs of the fruit or veg to try and make vinegars, for example after juicing and apple or a beetroot all the discard from the juicing machine can be covered in water and then add some old vinegar and or a scoby leave it for a month and you have vinegar! No more waste! Now we produce vinegar from either peelings and off cuts, the discard from the juicer or we juice the off cuts and skin and then ferment that!

Method
The thing we started with was apples so I will explain the process with apple discard and this method can be transferred to anything you imagination lets you.
Collect 5 or 6 apple cores with pips and if you made an apple crumble and peeled the apples for example keep all the peeling also. Chop then roughly and add them to a sterilised jar (we use kilner jars) add 2 tables spoons of sugar and mix it all together then cover in water to below the curve of the jar.
If you can buy or have any unpasteurised vinegar add 100ml and this will speed up the process dramatically.
Cover the jar in a cheese cloth and secure with a rubber band. Leave the jar in the kitchen in a place out of direct sunlight the ideal temperature is around 20-25’c this will aid the bacterial growth.
Everyday this will need a stir with a clean spoon and wear gloves also to make sure you do not add any unwanted bacteria. After you stir it re cover and leave for another 24 hours. Repeat this for a week. You should see bubbles as the mixture ferments then the fruit will sink and you can stop stirring and just wait…..
I cannot tell you for how long! But sooner or later you will taste the acidity rising and at the point it tastes like vinegar you can transfer it to a bottle and a cooler place to then reduce the fermentation. If you plan to make more then keeping it ‘alive’ is important so you can add some to the next batch however you might find it gets volatile and the top pops off so I tend to keep a small amount alive and then boil the rest quickly to kill any bacteria and pasteurise the vinegar and it should keep forever!
You can also do the same process with freshly pressed apple juice but you may need a little less sugar as the juice has more sugar to start. You can add a spoonful of sugar later in the process if you taste its not progressing as you expect ie isn’t getting more acidic.